Last Updated on July 14, 2026
Are your craft supplies scattered everywhere, making it hard to find what you need when creativity strikes? You’re not alone.
Organizing your craft supplies doesn’t just save time—it sparks inspiration and makes your projects flow smoother. Imagine opening your craft space and instantly knowing where every tool, paper, and ribbon is. You’ll discover simple, practical ways to tidy up your materials so you can focus on what matters most: creating.
Keep reading to unlock easy steps that will transform your messy craft area into a neat, inspiring haven.
Sort Supplies By Category
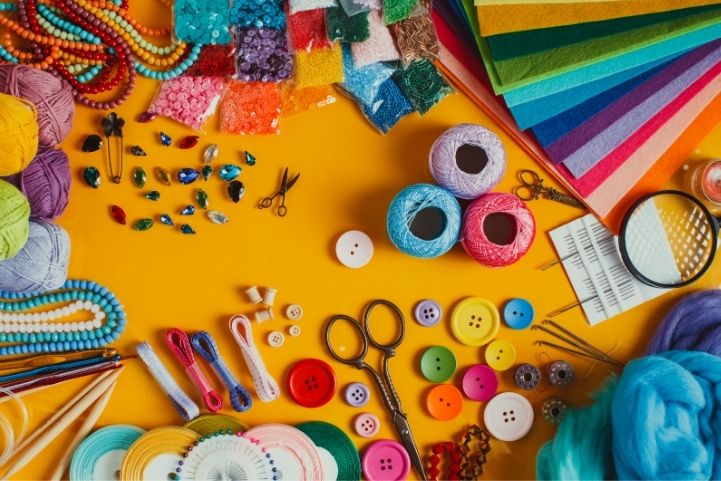
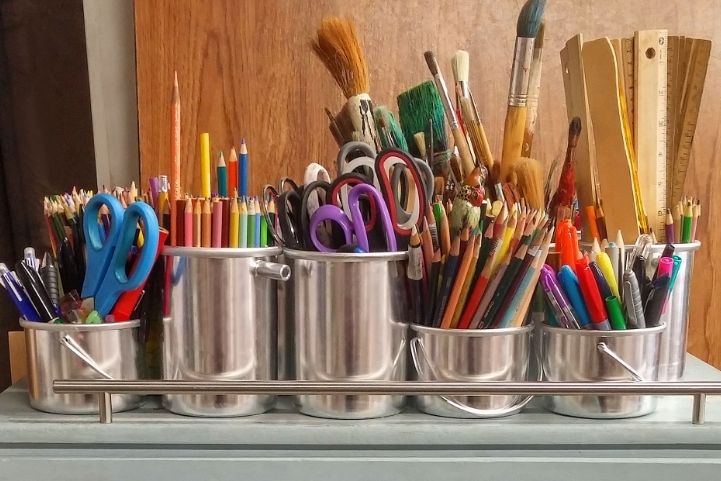
Sorting your craft supplies by category makes your space neat and easy to use. It saves time by helping you find items fast. Grouping similar items together gives a clear view of what you have. This method also keeps your supplies safe and organized.
Group Similar Items Together
Put all items that serve the same purpose in one place. For example, keep all paints on one shelf. Store brushes, pencils, and markers in separate containers. Grouping helps you know exactly where to look for each tool.
Use Clear Containers For Visibility
Choose see-through containers to store your supplies. Clear boxes let you spot what you need without opening them. This approach reduces mess and saves time. Use plastic bins, jars, or trays that fit your space.
Label Each Category
Add simple labels to each container or shelf. Labels can be handwritten or printed for neatness. Clear labels help you and others find items quickly. This step keeps your craft area tidy and easy to use every day.
Choose The Right Storage Solutions
Choosing the right storage solutions makes organizing craft supplies easier and faster. Good storage keeps tools and materials neat and easy to find. It saves space and protects delicate items. Different supplies need different storage types. Pick options that fit your space and craft needs.
Utilize Drawer Organizers
Drawer organizers help separate small craft items like beads, buttons, and threads. They stop things from mixing and getting lost. Use adjustable compartments to fit different sizes. Clear organizers let you see contents without opening drawers. This saves time and keeps your workspace tidy.
Incorporate Shelving Units
Shelving units provide open space for larger supplies. Store jars, paint bottles, and fabric rolls on shelves. Use labeled bins or baskets on shelves for extra order. Shelves keep everything visible and easy to reach. They also use vertical space, freeing up your desk or table.
Use Stackable Bins And Boxes
Stackable bins and boxes save floor and shelf space. They keep similar items grouped and compact. Choose clear bins to spot supplies quickly. Label each box for simple identification. Stackable designs allow you to build up storage without clutter.
Maximize Small Spaces
Small spaces can make organizing craft supplies tough. Smart use of space helps keep supplies neat and easy to find. Focus on using every inch wisely. Vertical areas and clever storage ideas save room and reduce clutter.
Use Vertical Storage Options
Shelves that go up instead of out save floor space. Tall, narrow shelves fit in corners or tight spots. Stackable bins and clear containers show what’s inside. This lets you grab what you need fast. Vertical storage keeps your workspace open and tidy.
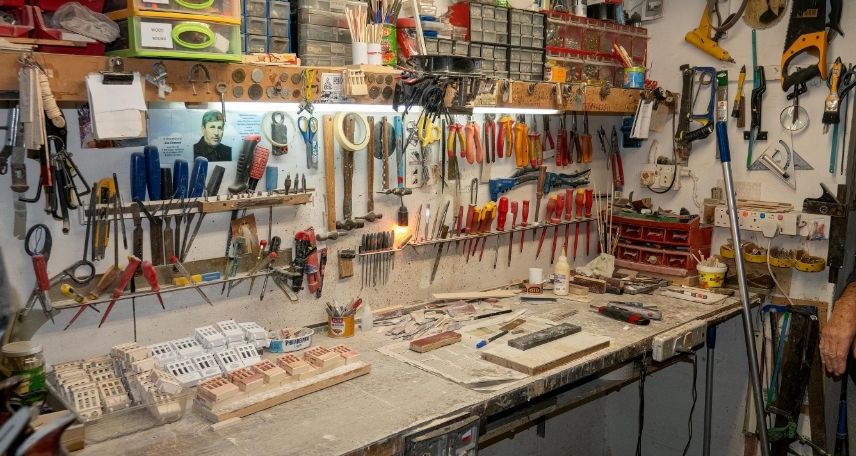
Hang Tools On Pegboards
Pegboards turn blank walls into handy storage zones. Hang scissors, brushes, and rulers on hooks. Arrange tools by size or use for quick access. Pegboards keep tools visible and off your desk. They also make cleaning easier since everything has a place.
Repurpose Everyday Items
Look around for items that can store supplies. Mason jars hold buttons, beads, and small bits. Shoe organizers keep rolls of ribbon or tape neat. Muffin tins sort small parts like pins or sequins. Using what you have saves money and cuts waste.
Maintain Accessibility And Convenience
Keeping your craft supplies easy to access saves time and frustration. Organizing with convenience in mind lets you focus on creating. It helps you stay motivated and enjoy your projects more. Small changes in storage can make a big difference in how you work.
Keep Frequently Used Items Within Reach
Place your most used supplies where you can grab them fast. Use clear containers or open baskets on your desk or shelves. This reduces the need to search for tools and materials. It also helps keep your space tidy. Items like scissors, glue, and markers work best close by.
Create A Portable Craft Kit
Use a small box or bag to carry your essential tools. This kit can move with you around the house or outside. It makes it simple to start crafting anytime and anywhere. Choose lightweight, durable containers with compartments. This keeps everything organized and easy to find.
Set Up A Dedicated Workstation
Have one place only for crafting. This spot should hold your tools, materials, and projects. A clear table or desk with good lighting works well. Store supplies in drawers or shelves nearby for quick access. A dedicated area helps keep your craft zone neat and focused.
Incorporate Cleaning And Maintenance Habits
Keeping craft supplies clean and well-maintained helps you work better. It saves time and money by avoiding damaged or lost items. Good habits keep your space tidy and ready for projects anytime.
Schedule Regular Cleanups
Set a day each week or month to clean your craft area. Wipe down surfaces and containers to remove dust and glue. Organize supplies by type or project during cleanup. Regular cleanups stop clutter from building up.
Dispose Of Unused Supplies
Sort through your supplies often to find items you no longer use. Throw away dried paints, broken tools, or expired glues. Donate supplies in good condition to schools or community groups. Clearing unused items frees space and keeps your collection fresh.
Keep Inventory Updated
Write down what supplies you have and update the list regularly. Note when you run low on important items. Use a simple notebook or app to track your inventory. Staying updated prevents buying duplicates and ensures you have what you need.
Add Personal Touches To Your Craft Space
Adding personal touches to your craft space makes it feel special. It helps you enjoy your creative time more. A space that reflects your style inspires your best work. Simple changes can turn a plain area into a cozy, motivating spot.
Decorate With Inspiring Elements
Choose items that spark your creativity. Photos, quotes, or small art pieces work well. Place them where you can easily see them. These elements keep your mood positive. A few personal objects can brighten your work area.
Use Color-coded Systems
Organize supplies by color for quick access. Use bins, labels, or folders in matching shades. This system saves time and reduces stress. It also makes your space look neat and lively. Colors help your mind find what you need fast.
Create Motivational Displays
Showcase your favorite projects or works in progress. Use shelves or bulletin boards to highlight them. Seeing your success boosts confidence and drive. It reminds you of what you can achieve. Motivational displays keep your energy high.
Frequently Asked Questions
How Can I Sort Craft Supplies Effectively?
Sort supplies by type, size, or frequency of use. Use clear containers and labels to keep items visible. This method simplifies finding and storing materials, reducing clutter and saving time during projects.
What Are The Best Storage Solutions For Craft Supplies?
Use stackable bins, drawer organizers, and pegboards. These options maximize space and keep supplies accessible. Choose transparent containers for easy identification and consider portable caddies for on-the-go crafting.
How Often Should I Declutter Craft Supplies?
Declutter every 3 to 6 months. Regularly assess supplies for usability and relevance. Discard dried glue, broken tools, and expired materials to maintain an organized, efficient workspace.
How Do I Organize Small Craft Items?
Use small containers, bead organizers, or pillboxes. Group similar items together and label each container. This prevents loss and makes small items easy to locate when needed.
Conclusion
Organizing your craft supplies can save time and reduce stress. Keep similar items together for easy access. Use clear containers to see what you have quickly. Label everything to avoid confusion later. Regularly sort through supplies to toss what you don’t need.
A tidy space helps creativity flow better. Start small, then build your system step by step. Enjoy your crafting more with an organized setup. Simple changes make a big difference every day.