Last Updated on August 3, 2026
Are you ready to dive into your next DIY craft project but worried about making mistakes? You’re not alone.
Even the most experienced crafters run into common errors that can turn a fun activity into a frustrating mess. But here’s the good news: many of these mistakes are easy to avoid once you know what to watch out for.
You’ll discover the most frequent DIY craft blunders and simple tips to keep your projects on track. Stick with me, and you’ll save time, money, and a whole lot of stress—making your crafting experience more enjoyable and successful. Let’s get started!
Choosing The Wrong Materials
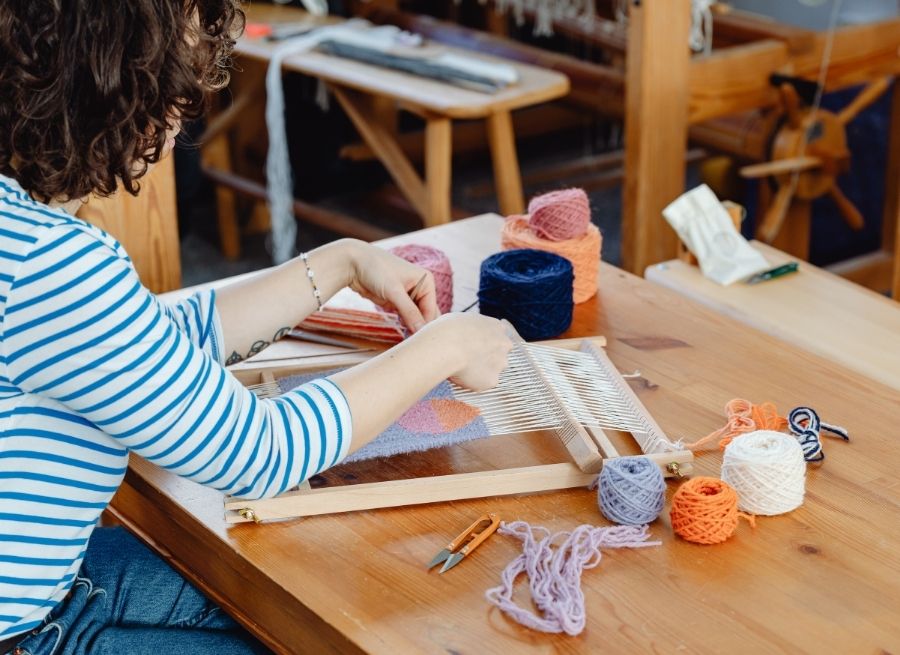
Choosing the wrong materials can ruin your DIY project. It wastes time, money, and effort. The right supplies make your craft look good and last longer. Understanding how to pick materials helps you avoid common mistakes.
Identifying Quality Supplies
Good materials feel sturdy and look consistent. Avoid cheap items that break or fade easily. Check labels for durability and safety. Test small pieces before buying in bulk. Quality supplies save you from redoing work.
Matching Materials To Project Needs
Think about your project’s purpose and use. Wood may suit furniture, but not delicate decorations. Fabric for bags must be strong and washable. Match materials with tools you have for easier crafting. The right match makes your project easier and better.
Skipping Proper Measurements
Skipping proper measurements can ruin any DIY craft project. Even small mistakes can cause big problems. Pieces may not fit, or the final product might look uneven. Accurate measurements save time and materials. They help keep your project neat and professional.
Tools For Accurate Measuring
Choose the right tools for your project. A ruler works well for straight lines. A tape measure suits larger items. A measuring tape with clear markings helps avoid errors. Try a square tool for right angles. Good tools make measuring easier and more precise.
Double Checking Dimensions
Always measure twice before cutting or gluing. Double checking prevents costly mistakes. Compare your measurements with your project plan. Look carefully at each number. Small errors can add up quickly. Take your time to ensure accuracy.
Ignoring Safety Precautions
Ignoring safety precautions is a common mistake in DIY crafts. Many people rush into projects without thinking about the risks. This can lead to accidents and injuries. Taking safety seriously protects you and your work area.
Simple safety steps prevent serious problems. Always prepare before starting any craft task. Knowing what safety gear to wear and how to handle tools can keep you safe.
Essential Safety Gear
Safety gear is your first defense against injury. Always wear goggles to protect your eyes from dust and splinters. Gloves keep your hands safe from cuts and chemicals. A mask helps avoid breathing in dust or fumes.
Choose gear that fits well and is comfortable. Replace worn-out safety items. Proper gear makes a big difference in staying safe.
Safe Tool Handling
Tools can be dangerous if handled carelessly. Always read the instructions before using any tool. Keep your work area clean to avoid slips or trips. Hold tools firmly and use them for their intended purpose only.
Turn off power tools when not in use. Store sharp tools safely out of reach. Taking your time and paying attention prevents accidents.
Rushing The Process
Rushing the process is a common mistake in DIY crafting. It often leads to messy results and wasted materials. Taking your time helps you finish projects with better quality. Slow and steady wins the race, especially in crafts.
Planning Your Steps
Before starting, outline each step clearly. Know what tools and materials you need. Follow instructions carefully. Planning helps avoid confusion and mistakes. It keeps your project on track and stress-free.
Allowing Time For Drying And Setting
Many crafts need time to dry or set properly. Paint, glue, and clay require patience. Rushing this part causes smudges and weak bonds. Wait fully before moving to the next step. This ensures your work lasts longer and looks neat.
Overcomplicating Designs
Many DIY crafters make designs too complex. This mistake can cause frustration and waste materials. Overcomplicating makes projects harder to finish. It also lowers the joy of creating. Simple designs often look better and are easier to do. Focus on clear, easy steps to enjoy your craft more.
Keeping It Simple
Start with basic shapes and patterns. Avoid adding too many details at once. Simple projects save time and reduce mistakes. Use fewer colors and materials to keep things clear. A clean design makes your craft stand out. Simple does not mean boring. It means easy to follow and nice to see.
Adapting Designs To Skill Level
Match your project to your skill level. Choose crafts that fit what you know. Beginners should try easy patterns first. This builds confidence and skill step by step. As you improve, add small challenges. This helps avoid feeling stuck or overwhelmed. Adjusting designs keeps crafting fun and rewarding.
Poor Adhesive Choices
Choosing the wrong glue can ruin your craft project. Poor adhesive choices cause weak bonds and messy results. Picking the right glue ensures your project stays intact and looks great. Understanding glue types helps you select the best one for your materials. This knowledge saves time and frustration during crafting.
Types Of Glue And Their Uses
White glue works well for paper and light wood. It dries clear and is easy to clean. Hot glue sticks quickly and bonds many surfaces. It is perfect for fabric, plastic, and wood. Super glue offers a strong, fast bond on metal and ceramics. Use it carefully as it can be brittle. Epoxy glue is great for heavy-duty repairs and crafts. It forms a tough, durable hold on many materials.
Ensuring Strong Bonds
Clean surfaces before applying glue. Dirt or oil weakens the bond. Apply glue evenly to avoid lumps and gaps. Press glued parts firmly together and hold. Allow enough drying time for full strength. Avoid moving pieces too soon. Test small areas first to check bond strength. Choose glue designed for your craft materials. Strong bonds make your project last longer and look better.
Neglecting Workspace Organization
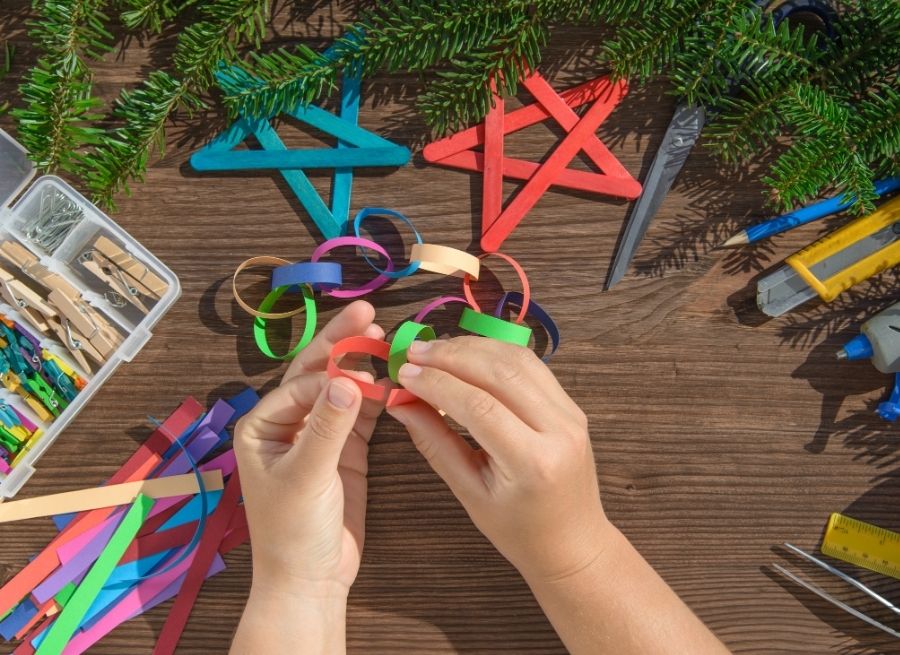
Many DIY crafters start projects with excitement but forget to organize their workspace. A messy or cluttered area slows down work and causes mistakes. Tools get lost, materials mix up, and focus breaks. Keeping your workspace tidy helps you work faster and feel less stressed.
Organized spaces make projects more enjoyable and reduce waste of time and supplies. Small changes in setup can lead to big improvements in results. Clear areas give you room to be creative without distractions or accidents.
Setting Up An Efficient Area
Choose a spot with good light and enough space to spread out. Use containers or shelves to store tools and materials neatly. Keep frequently used items within easy reach to save time. Label boxes and jars for quick identification. A well-planned area helps you stay focused and avoid searching for things.
Maintaining Cleanliness During Projects
Clean as you go to stop clutter from building up. Put scraps and trash into bins right away. Wipe surfaces regularly to keep them clear and safe. Organize tools after each use, so nothing gets misplaced. A clean workspace prevents accidents and helps you finish projects smoothly.
Not Testing Techniques First
One common mistake in DIY crafts is not testing new techniques first. Jumping straight into a project without practice can cause errors. These mistakes can waste materials and time. Testing helps avoid surprises and builds confidence.
Practicing techniques on scrap materials shows how they work. It also helps find the best way to apply them. Testing first leads to better results and less frustration. It is a simple step that saves effort later.
Trial Runs On Scrap Materials
Use leftover or scrap materials for trial runs. This avoids wasting good supplies. Try new painting, cutting, or gluing methods on scraps. Notice how the material reacts to different tools and products. Adjust your technique based on these tests. Trial runs create a clear plan for the final project.
Learning From Mistakes
Mistakes on trial runs are learning chances. Study what went wrong and why. Change your approach to fix the problem. This process improves your skills over time. Learning from small errors helps avoid bigger ones later. Keep trying until the technique feels right before starting the main craft.
Overlooking Finishing Touches
Finishing touches often get ignored in DIY projects. These small steps make a big difference in how the project looks and lasts. Skipping these can leave a rough, unpolished result. Paying attention to details can improve the overall quality and feel of your craft.
Sanding And Smoothing
Sanding is key to a smooth, clean surface. It removes bumps and rough spots. Use fine-grit sandpaper for a gentle finish. Always sand in the direction of the grain. This helps paint or stain stick better. Take your time to avoid uneven surfaces.
Applying Protective Coatings
Protective coatings guard your work against damage. Clear varnish, sealant, or paint protects from water and wear. Apply thin, even layers for the best result. Let each coat dry completely before adding the next. This step extends the life of your project and keeps it looking fresh.
Frequently Asked Questions
What Are Common Diy Craft Mistakes Beginners Make?
Common mistakes include skipping instructions, poor planning, and using wrong materials. These errors lead to wasted time and frustration. Always read guides carefully, prepare all supplies, and choose appropriate tools to avoid these pitfalls.
How Can I Avoid Diy Craft Project Failures?
Plan your project thoroughly and follow instructions step-by-step. Test materials on scrap pieces first. Keep your workspace organized and take your time. Patience and preparation are key to successful DIY crafts.
Why Is Choosing The Right Materials Important In Diy Crafts?
Using incorrect materials can ruin your project’s appearance and durability. Proper materials ensure safety and a professional finish. Always select supplies that match your project’s requirements for best results.
How Do I Prevent Mess And Waste In Diy Crafts?
Work on a protected surface and keep supplies organized. Measure twice, cut once to reduce errors. Clean as you go to avoid clutter and minimize wasted materials.
Conclusion
Avoiding common DIY craft mistakes makes projects more fun and less stressful. Plan your steps carefully before you start. Use the right tools and materials for each task. Take your time and don’t rush through your work. Learn from any mistakes and try again with confidence.
Crafting is all about practice and patience. Keep these tips in mind to enjoy your creative process more. Happy crafting!