Last Updated on June 21, 2026
Have you ever wanted to add a touch of elegance and creativity to your crafts? Vellum paper and decoupage might be exactly what you need.
Imagine turning simple objects into beautiful, personalized pieces with just a few easy steps. You’ll discover how vellum paper can transform your decoupage projects, making them stand out with a delicate, translucent charm. Keep reading, and you’ll learn practical tips and tricks that will inspire your next craft adventure.
Your creative side is about to get a whole new boost!
Credit: decoupagequeen.com
Choosing Vellum Paper
Choosing the right vellum paper is key for decoupage projects. The paper must be thin yet strong. It should hold glue and dry flat. Picking vellum carefully helps your craft look neat and last longer.
Types And Qualities
Vellum paper comes in many types. Some are smooth and clear, others have a rough texture. Quality varies from cheap to premium. Higher quality vellum is thicker and more durable. It resists tearing and warping during glue drying. Choose vellum that suits your project style.
Where To Buy
You can find vellum paper in craft stores and online shops. Art supply stores often carry good brands. Buying online offers a wider selection. Check product reviews before buying. This helps you avoid low-quality sheets. Purchase from trusted sellers for best results.
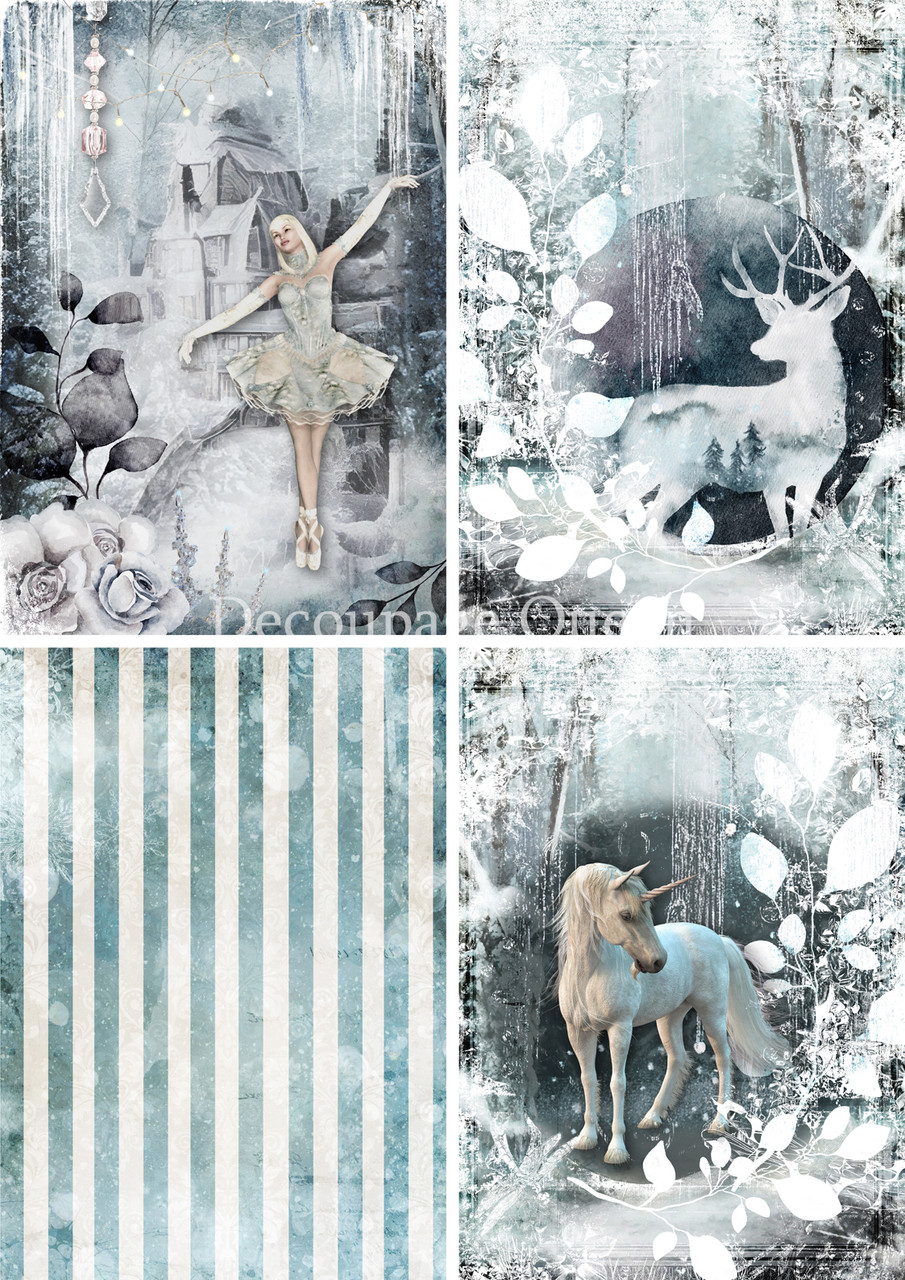
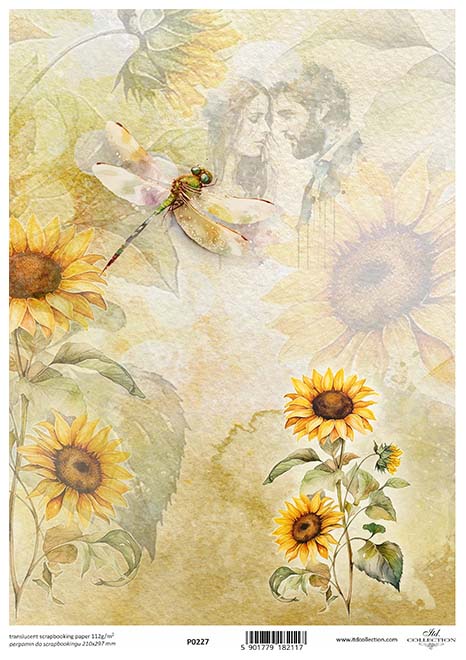
Color And Texture Options
Vellum paper is available in clear, white, and cream shades. Some have a glossy finish, others are matte. Textures vary from smooth to slightly rough. Transparent vellum works well for layering. Colored vellum adds depth and interest. Choose colors and textures that match your design.
Read More – How to Make a Traditional Moroccan Tagine: Authentic & Easy Guide
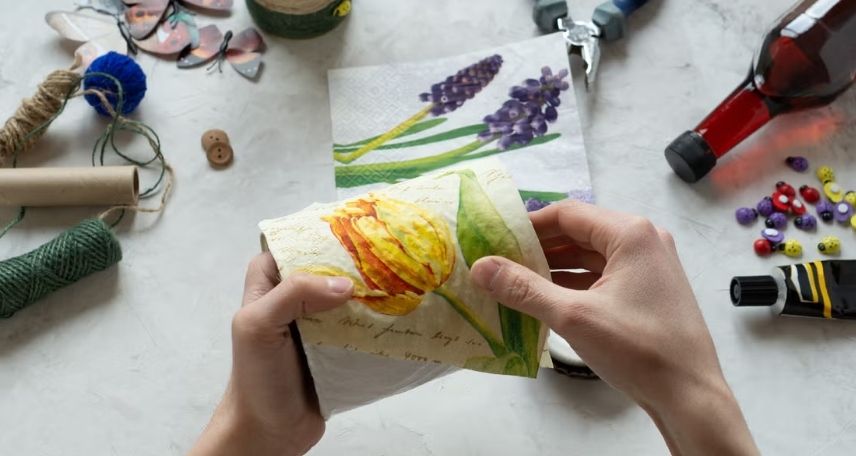
Basics Of Decoupage
Decoupage is an art that uses paper cutouts to decorate objects. It gives plain items a fresh, creative look. This craft is easy to start and fun to do. Vellum paper, with its smooth and translucent texture, works well for decoupage. Understanding the basics helps create neat and lasting designs.
These basics include the tools you need, preparing your surface, and applying adhesives correctly. Each step plays a key role in the final look. Let’s explore these parts to get you ready for your first project.
Essential Tools And Supplies
Start with a few simple tools. You need scissors or a craft knife to cut the paper. A brush or sponge helps apply glue or adhesive. Use a smooth surface like a wooden box, glass, or metal item. Vellum paper is perfect for delicate designs. Also, keep a clean cloth handy to wipe extra glue. These supplies make the process smooth and easy.
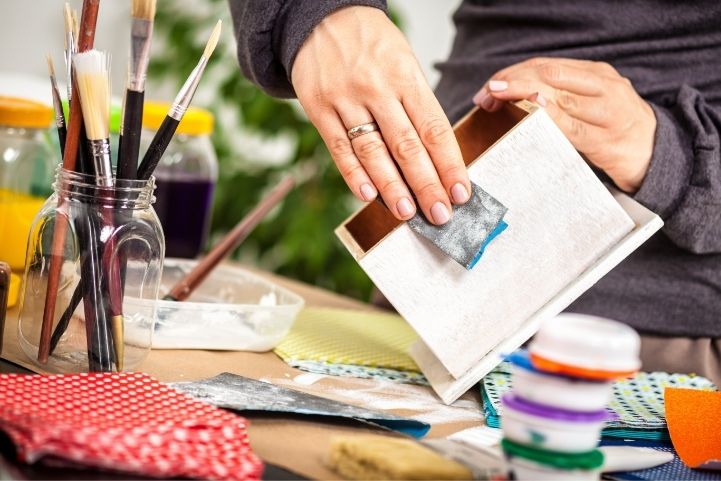
Surface Preparation
Prepare the surface before applying paper. Clean it well to remove dust and grease. A smooth surface helps the paper stick better. Sand rough areas lightly for a flat finish. Wipe the surface with a damp cloth to remove dust. Dry it completely before starting your work. Good preparation makes your design last longer.
Applying Adhesives
Use the right adhesive for vellum paper. White glue or decoupage glue works well. Apply a thin layer on the surface first. Place the vellum paper carefully on the glue. Smooth out wrinkles and bubbles gently with your fingers or a brush. Add another glue layer over the paper to seal it. Let it dry fully to protect your design.
Working With Vellum In Decoupage
Vellum paper offers a unique touch to decoupage projects. Its translucent quality adds softness and light to designs. Working with vellum can create stunning layers and effects. It requires gentle handling and some special techniques. Understanding how to cut, layer, and apply vellum helps avoid common problems. This section explores key tips to work smoothly with vellum in decoupage.
Cutting And Shaping Techniques
Use sharp scissors or a craft knife for clean edges. Cut slowly to avoid tearing the thin paper. Trace patterns on vellum with a pencil before cutting. For curves, make small snips to follow shapes precisely. Avoid folding vellum sharply; it can crease easily. Use templates to keep shapes consistent and neat.
Layering For Depth
Place vellum layers one over another for a soft glow effect. Overlapping creates depth without heavy textures. Use transparent glue or decoupage medium sparingly to keep clarity. Let each layer dry fully before adding the next. Experiment with different colors and patterns beneath vellum. This adds interest and richness to your design.
Preventing Wrinkles And Bubbles
Apply glue evenly with a soft brush or sponge. Too much glue causes wrinkles and bubbling. Smooth vellum gently from center to edges to remove air pockets. Work on a flat surface to keep vellum straight. Press lightly using a clean cloth or roller. Dry pieces under light weight to keep them flat and smooth.
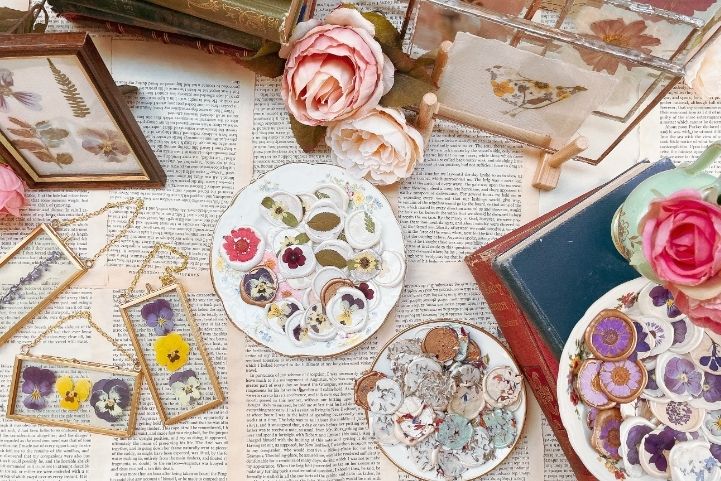
Creative Project Ideas
Vellum paper and decoupage open many creative doors. This combination adds a soft, translucent touch to projects. It works well with many surfaces and styles. Here are some fun ideas to try with these materials.
Use vellum paper to bring delicate layers to your work. Decoupage helps seal and decorate with ease. These projects can suit beginners and experts alike.
Decorating Cards And Invitations
Vellum paper adds elegance to cards and invitations. It creates a frosted look that looks professional. Use decoupage to attach vellum on card fronts. Add handwritten messages or printed designs underneath. The vellum softens the text and adds a unique effect.
This technique works well for weddings, birthdays, and holidays. Cut vellum into shapes or use full sheets. Seal edges with decoupage for durability and shine.
Enhancing Home Decor
Vellum paper can soften light through lampshades or windows. Apply it using decoupage for a smooth finish. Try covering flower pots, picture frames, or candle holders. The translucent vellum creates a calm, warm glow. Layer patterns or colors for a custom look.
These projects brighten rooms with subtle style. They also protect surfaces and add texture.
Personalized Gifts
Create one-of-a-kind gifts with vellum and decoupage. Cover notebooks, boxes, or jars with vellum designs. Write names or messages underneath for a personal touch. Decoupage seals and protects your work.
These gifts feel special and handcrafted. They show care in every detail and make lasting memories.
Read More – How to Make Caribbean Party Food: Easy Recipes for Festive Flavor
Finishing And Sealing Tips
Finishing and sealing vellum paper in decoupage projects protects your work and keeps it looking great. Proper sealing helps prevent damage from moisture, dirt, and wear. It also preserves the delicate look of vellum while adding durability. Here are key tips for finishing and sealing vellum paper in decoupage.
Choosing The Right Sealant
Select a sealant that is clear and dries without yellowing. Water-based sealants work well for vellum because they cause less wrinkling. Avoid thick or glossy sealants that may hide the paper’s texture. Test your sealant on a small vellum piece to check for unwanted effects. Spray sealants offer even coverage and reduce smudging risk.
Maintaining Transparency
Keep vellum’s see-through quality by using thin layers of sealant. Apply several light coats rather than one heavy coat. Let each layer dry completely before adding another. Use a matte or satin finish to avoid shiny spots. This approach helps keep your design clear and vibrant.
Protecting Your Craft
After sealing, handle your decoupage project gently. Store it away from direct sunlight and moisture to avoid damage. Use a soft cloth to clean the surface if needed. Proper care extends the life of your vellum decoupage and keeps it looking fresh.
Credit: decoupagenapkins.com
Troubleshooting Common Issues
Working with vellum paper and decoupage can be tricky at times. Problems like tearing, discoloration, and adhesive issues may arise. These problems can slow down your project or affect its look. Knowing how to fix these common issues helps keep your craft smooth and fun.
Dealing With Tearing
Vellum paper is thin and delicate. It tears easily if handled roughly. Use a sharp craft knife instead of scissors for clean cuts. Always cut on a flat, hard surface. Avoid pulling or stretching the paper during application. If tearing occurs, use clear tape on the back to hold the pieces together. Apply glue gently to prevent more damage.
Avoiding Discoloration
Vellum can change color when exposed to moisture or heat. Use glue that dries clear and does not soak through the paper. Keep your workspace cool and dry. Avoid direct sunlight on the project for long periods. Let the glue dry naturally without using heat sources like hair dryers. Store finished pieces in a dark, dry place to keep colors fresh.
Fixing Adhesive Problems
Sticky glue can wrinkle vellum paper. Use a thin layer of adhesive for better results. Spread glue evenly with a small brush or sponge. Avoid using too much glue, which causes bubbling. If bubbles appear, gently press them out with a clean cloth. Use glue sticks or decoupage mediums designed for delicate papers. Clean up extra glue quickly before it dries.
Read More – The Pros And Cons of Surprise Parties: Unveil the Truth!

Credit: www.youtube.com
Frequently Asked Questions
What Is Vellum Paper Used For In Decoupage?
Vellum paper offers a translucent, smooth surface ideal for layering in decoupage. It adds depth and elegance to projects. Its durability allows for easy handling and gluing without tearing. This makes vellum perfect for decorative crafts, cards, and personalized gifts.
How To Glue Vellum Paper In Decoupage Projects?
Use a clear-drying, acid-free glue or decoupage medium for vellum. Apply glue thinly to avoid wrinkles or bubbles. Position vellum gently and smooth with a soft tool. Let it dry flat to prevent warping. This ensures a neat, long-lasting finish.
Can Vellum Paper Be Painted Before Decoupage?
Yes, vellum paper can be painted with acrylics or watercolors. Use light, even coats to maintain translucency. Allow paint to dry completely before applying glue. This technique adds vibrant color while keeping vellum’s delicate texture visible.
Is Vellum Paper Better Than Tissue Paper For Decoupage?
Vellum is more durable and less prone to tearing than tissue paper. It offers a smooth, translucent effect, enhancing design layers. Tissue paper is thinner and more fragile but cheaper. Choose vellum for refined, lasting decoupage results.
Conclusion
Vellum paper adds a delicate touch to decoupage projects. Its smooth texture blends well with glue and paint. You can create beautiful layers that look soft and light. This paper works great on cards, gifts, and home decor. Experiment with colors and patterns for unique results.
Decoupage with vellum paper brings creativity to life. Try it yourself and enjoy crafting with ease and style.